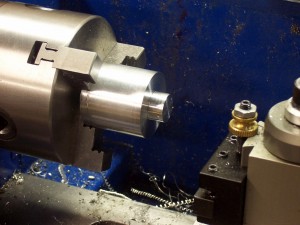
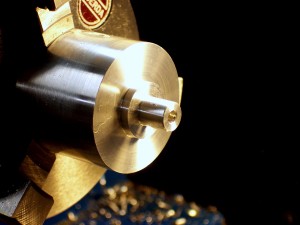
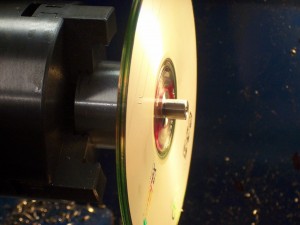
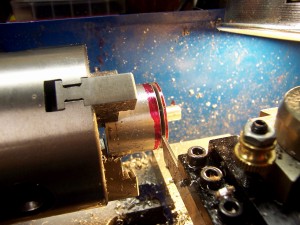
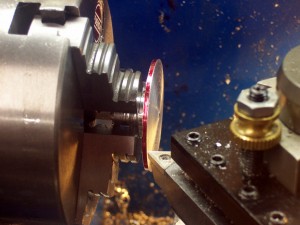
Here’s how I made the hub for Jan Ridders’ New Simpler LTD Stirling Engine. I started with a piece of 1.25-inch diameter aluminum and turned down a shoulder to fit the CDs that are used for the flywheel. This part has only two critical dimensions and this is one of them. The CDs need to fit well so the flywheel will have a minimal amount of run out. The other critical dimension is the center hole. It needs to be drilled or reamed so it will fit well on the crankshaft and the hub won’t wobble when it turns. I recommend drilling the hole to fit a crankshaft made from 3/32-inch drill rod (more about this in my next post).
It is also important to cut a square shoulder so the disks will fit tight against it. I use indexable carbide inserts and they have a very small cutting radius. So I was able to cheat and cut just a little deeper into the corner of the shoulder so the radius left by the insert would be a little below the surface. The radius ground on HSS bits is usually bigger so they might require you to clean up the corner with a parting or grooving tool, or a pointed bit. If you don’t know what I mean then see the bottom of this page where they show and explain how to turn a shoulder.
Usual Disclaimer: I’m not the most experienced machinist and there is almost always more than one way to do something. Please leave a comment if you can teach us all a better or different way of making this part.