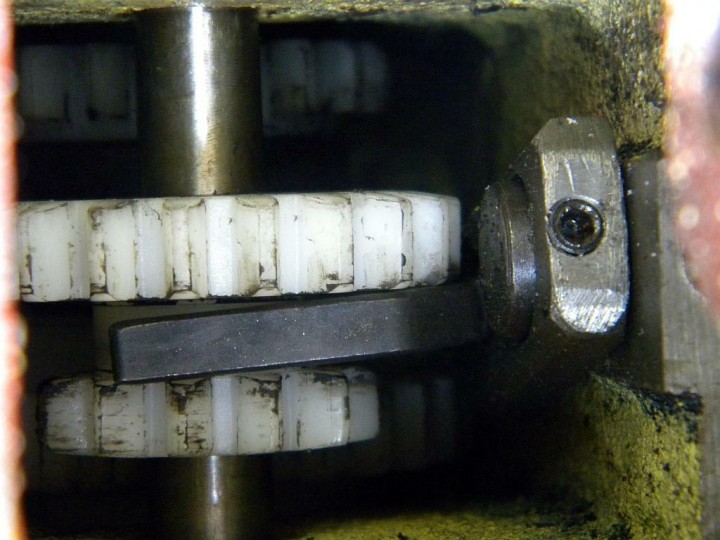
This photo essay will show you how to remove the intermediate gear and shift lever from the head of a Sieg Industries X2 mini-mill [HF 44991, Grizzly G8689, Micro-Mark & others]. It also explains why you might want to do so after installing a belt-drive. You may also find it useful if you need to replace a broken intermediate gear.
Why you may want to remove the gear
I’ve installed a belt drive kit on two different mini-mills. With the first one I didn’t feel there was any need to remove the intermediate gear. But the second mill had a much noisier gear train, both before and after I installed a belt drive. It also had a very slight vibration when running the spindle at high speeds. Removing the gear made it much quieter and eliminated the vibration. By the way, belt tension can also cause your mill to be noisy. I suggest you experiment with it if that’s your issue.
This might be a good time to check and fix your spindle/column alignment
Mini-mills sometimes suffer from a misalignment of the spindle and column that can’t be fixed by tramming the mill. Fixing it requires removing the head from the column, which you’re going to have to do anyways to remove the intermediate gear. So this would be a good time to check your mill and fix it if it’s misaligned. Earl Hackett wrote a nice procedure that will tell you how to do it.
I chose not to because I didn’t have a lot of time and I plan to take my mill apart again for some other modifications.
I suggest taking the following precautions if you do this
- Disconnect the power to your mill. You don’t want to accidentally turn on the motor. You’re also going to have to open up the control box to remove it from the head.
- Be careful when disconnecting the torsion-arm spring that supports the weight of the head. You don’t want your fingers to get pinched, the bolt to fly into your face, or the head to suddenly drop onto the table.
- Don’t strain your back or hurt yourself in some other way while lifting the head off the column or reinstalling it. It’s heavy and it may put you in an awkward position. It would be good to have help.
- It’s always a good idea to wear safety glasses in a workshop.
The first step is to remove the head from the column
You’re going to have to slide the head off the column before you can remove the intermediate gear. I’m not going to describe in detail how to do it because I have a CNC mini-mill and the procedure is different for a manual mill. But in a nutshell, you’re going to have to disconnect the support spring for the head (be careful that you don’t get hurt by the spring or let the head drop onto the table). You’re also going to have to remove the control box mounted on the side of the head by removing three screws inside the box (Make certain you’ve unplugged the AC power cord first). You’ll also have to remove the motor and spindle nut. My article about installing a belt drive can show you how.
no images were found

I was told by LMS that you can put the high low lever in a neutral position and the gears will not engage to make noise.